Home » Dental Technology » “All on 4” Full Zirconia Arch – Procedure
The following is a copy of our full zirconia arch implant prosthesis protocol. The original version was created for an “All on 4” approach but can be amended for any number of implants. All in-patient photos were provided by Dr. Brian Jackson of Utica, NY. A full version of the protocol can be downloaded from the Utica Dental Lab website.
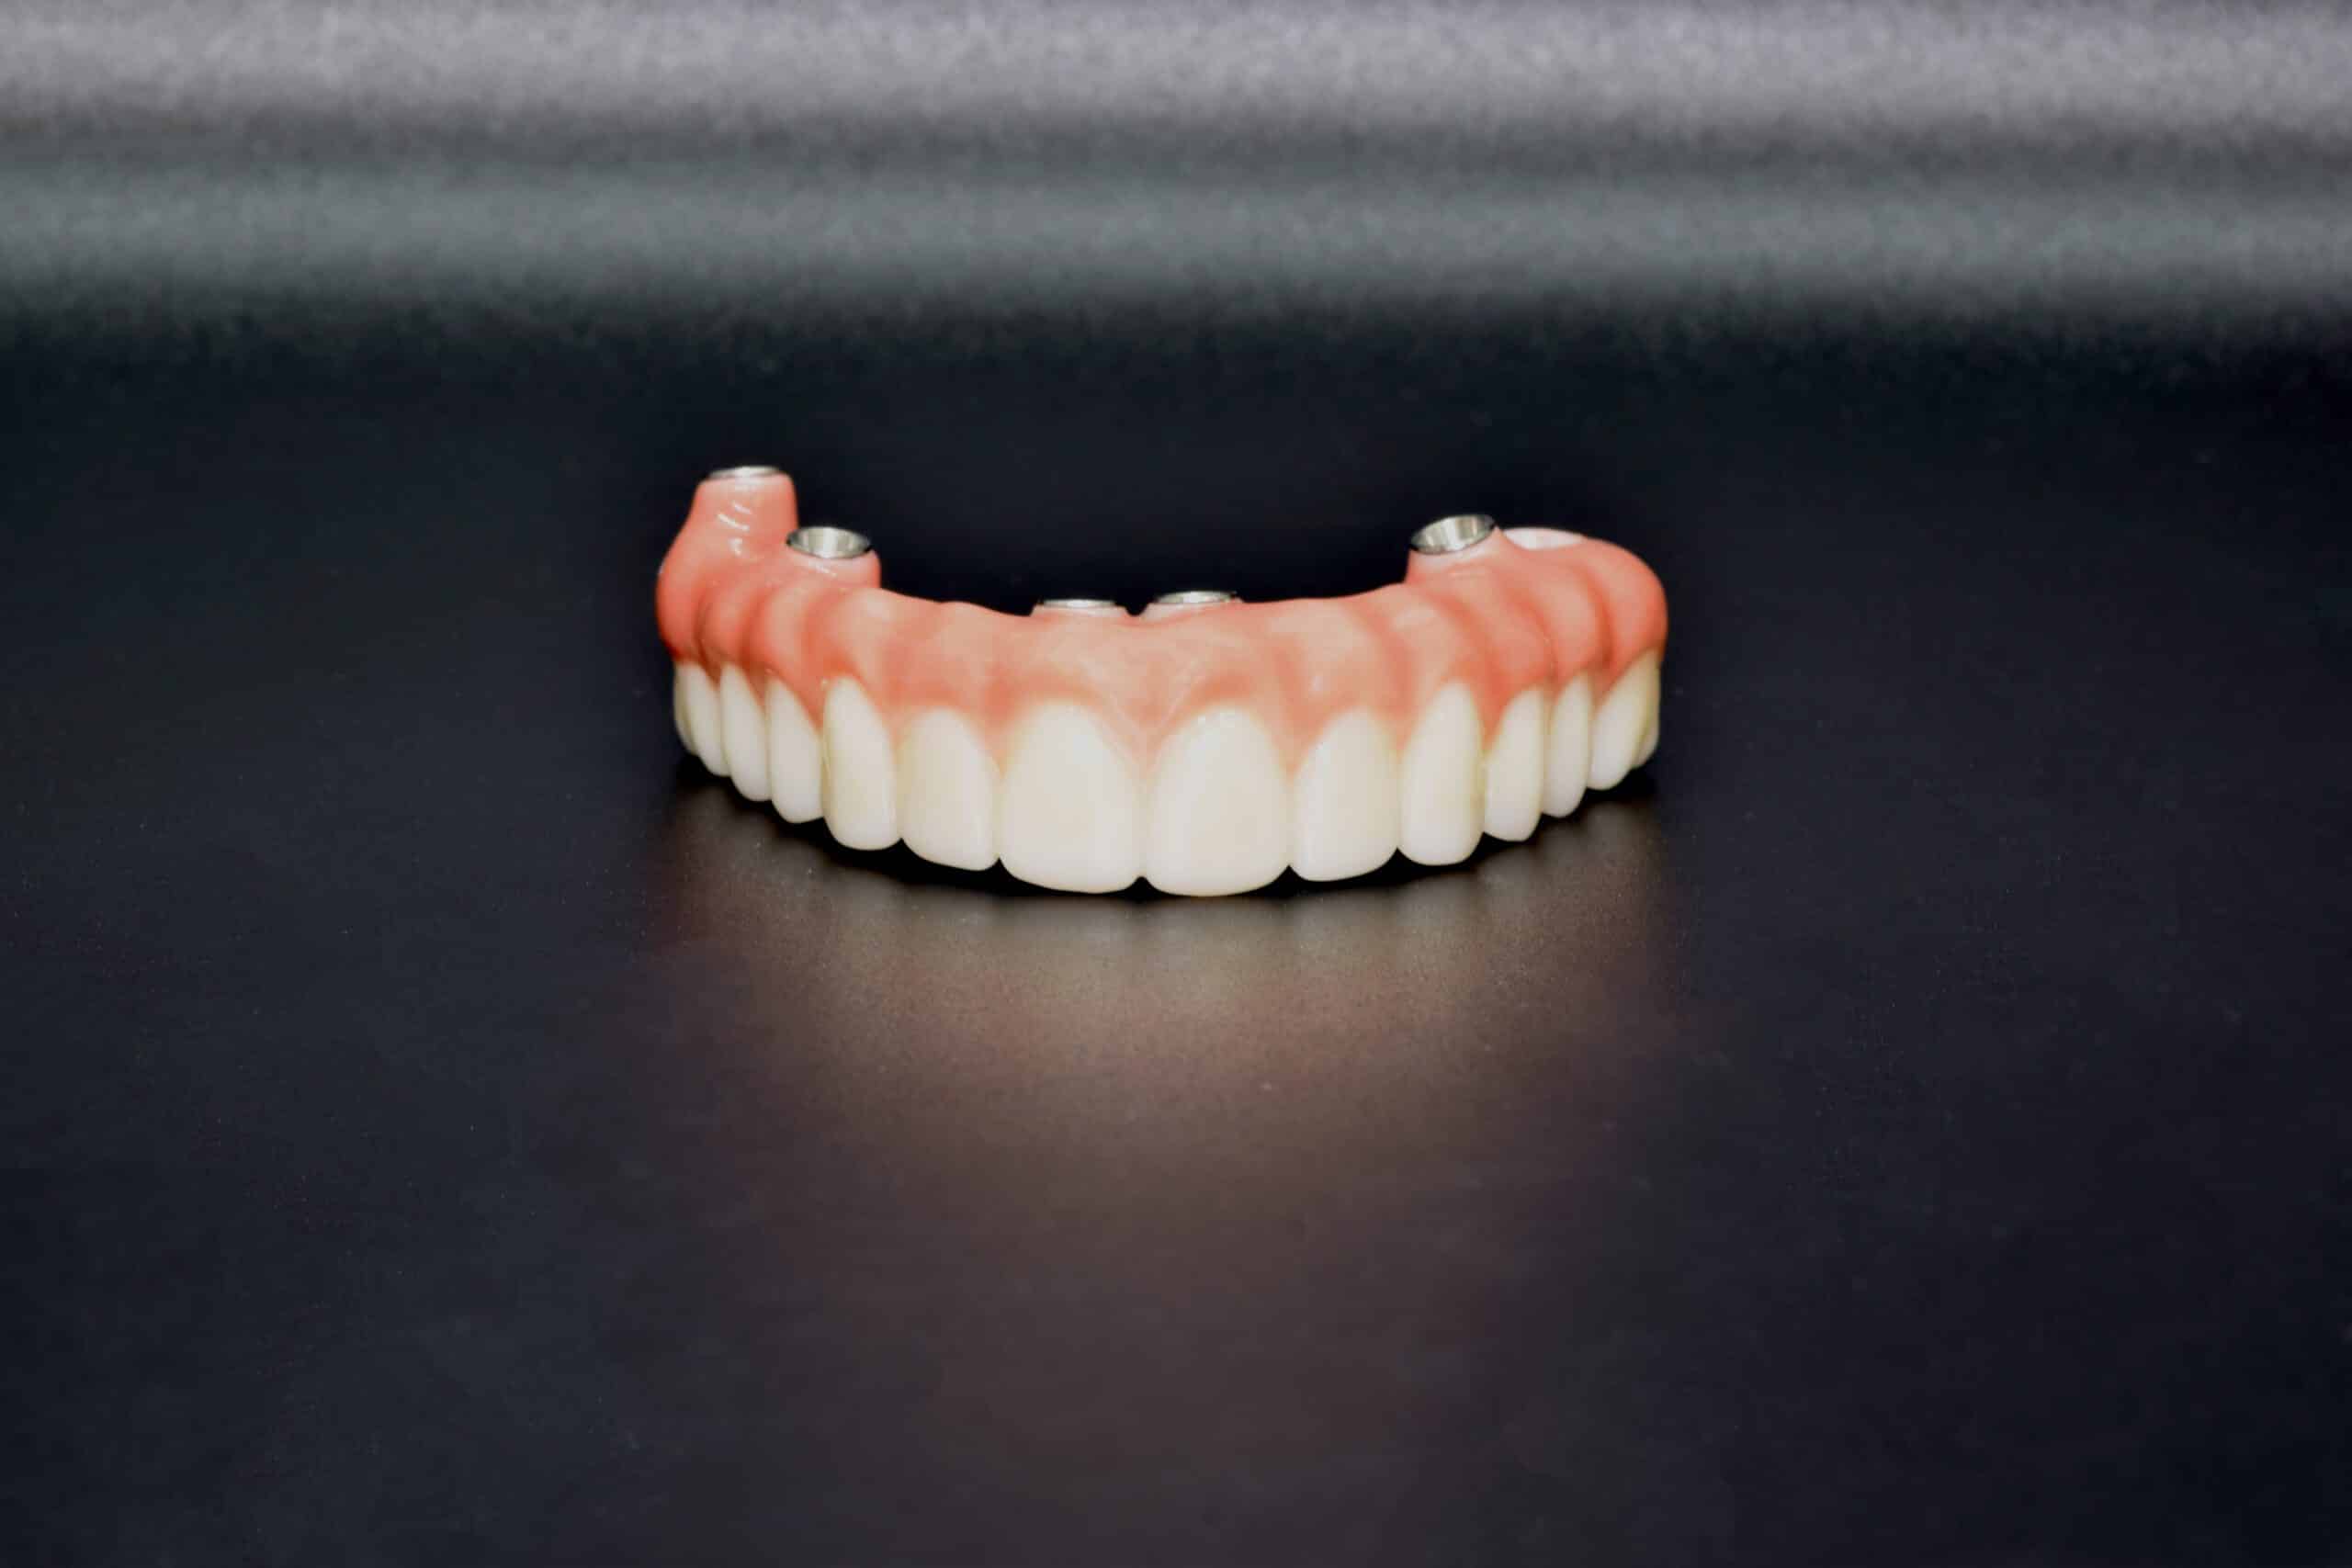
The Full Arch Zirconia Implant Prosthesis offers edentulous patients a unique, highly aesthetic, fixed implant solution made from 100% zirconia. The exceptional flexural strength of zirconia (up to 1465mpa) offers high resistance to chips and fractures while providing the patient with the stability needed to improve chewing and phonetic functions.
Using a mix of traditional denture techniques and the most advanced CAD/CAM technology, we can provide a passive, natural looking, and precise fitting restoration. A screw-retained wax try-in with denture teeth is first provided to ensure the correctness of selected tooth shade and shape, as well as tooth setup and occlusion.
After the try-in is confirmed by the patient, a temporary PMMA appliance is fabricated via CAD technology from the wax try in. The PMMA provisional appliance will provide a more definitive evaluation of the final prosthesis.
Step One – Preliminary & Final Impressions
Once implants have completely healed, a final impression of the patient will be necessary. The following procedure assumes an open tray technique.
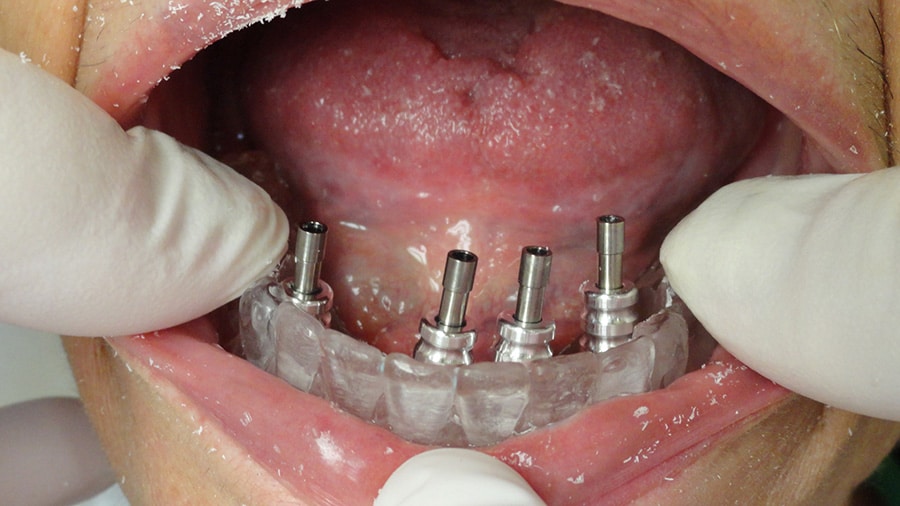
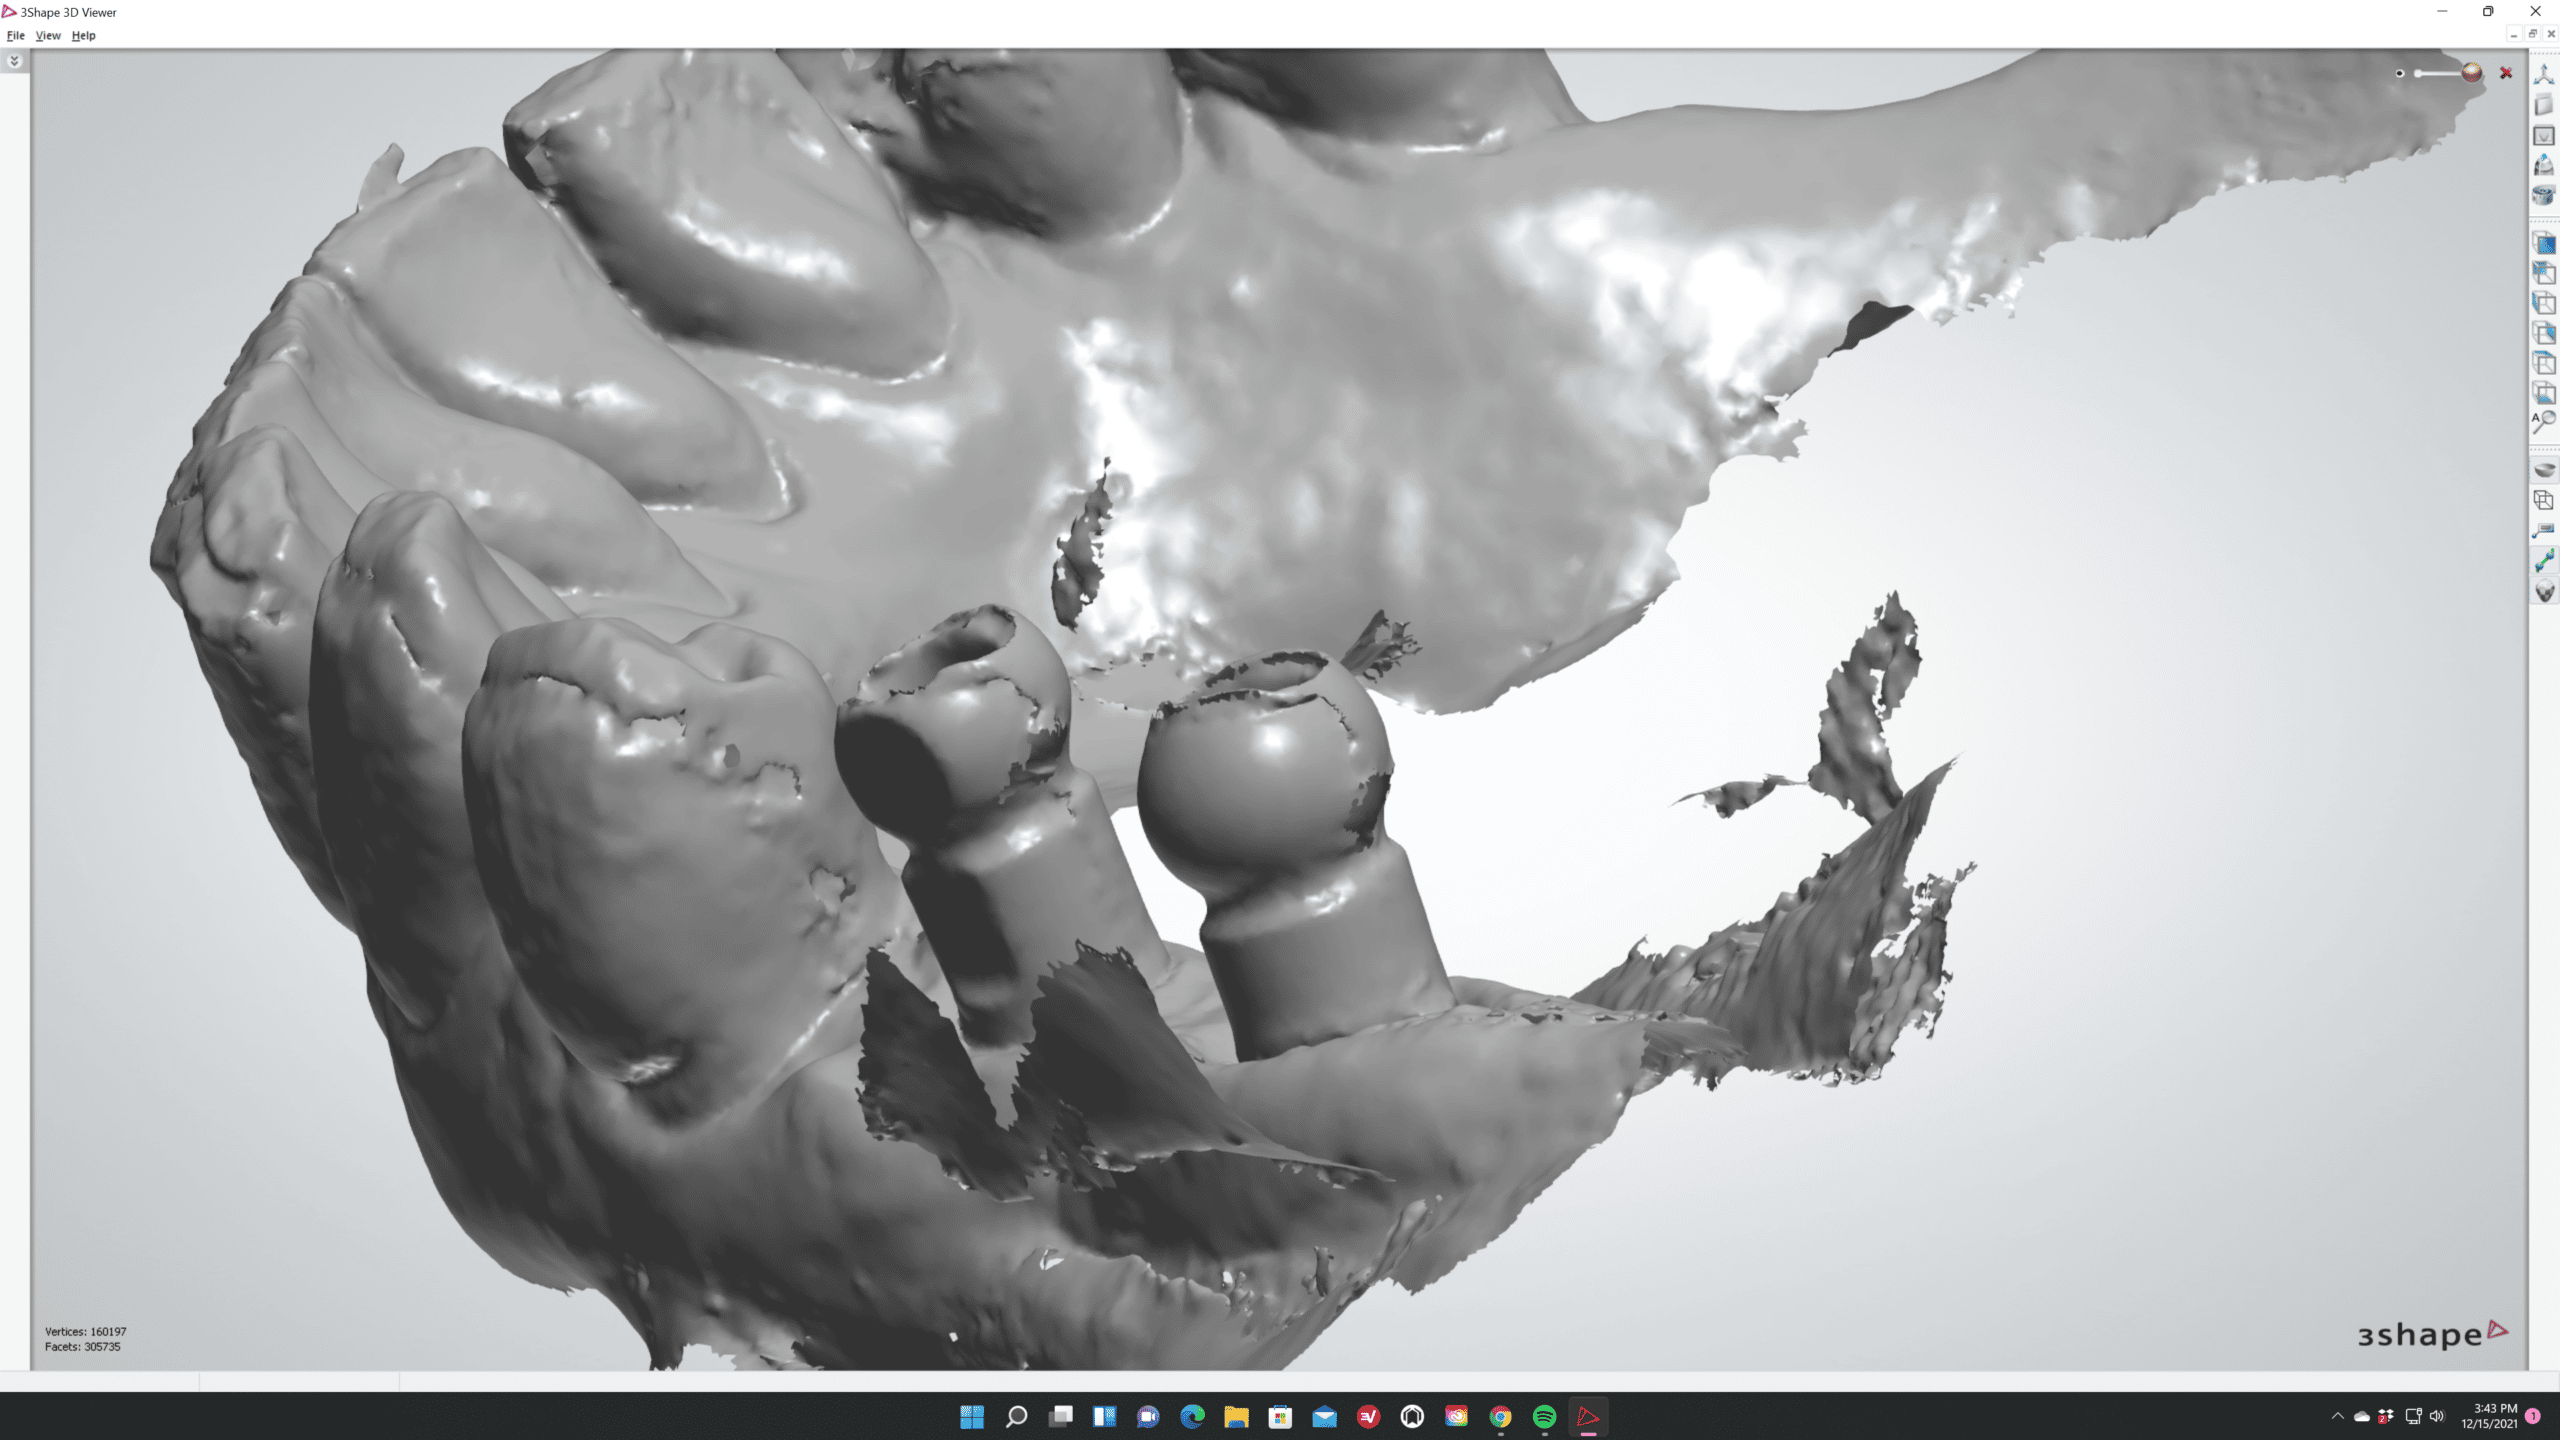
First, Seat abutment transfers from above on to implants and tightly screw into place. Grind holes in tray for access to screws. Check the fit of the tray. It is crucial to obtain an accurate final impression to ensure a passive fit.
Then take a VPS impression of the edentulous arch. Allow material to set completely. Loosen all screws and remove tray. Replace original prosthesis. Carefully check to see that all transfer copings are fully seated back in the impression. If a custom tray is needed, one can be provided to you for the next patient visit.
Step Two – Verification Jig & Wax Rim
The second patient visit is used to verify the accuracy of the initial impressions and resulting models. It is of paramount importance that the final prosthesis fits passively as any uneven pressure applied to the implants can cause them to fail.
Seat verification jig on implants. Use the Sheffield Test to ensure the passivity of the jig. Tighten one screw on either end of the jig. Check to make sure the jig is seated passively on the reaming implants. If jig is not passive, section the jig where necessary. Make sure each temporary cylinder is tightly screwed on to each implant. Lute jig back together using light cure or resin material. Once material has completely cured, use provided custom tray to take final impression.
After passivity is confirmed, next seat the bite block and hand tighten screws. Use conventional denture techniques to capture jaw relation records. Then choose a Vita Shade for tooth color, and a gingiva shade.
Step Three – Denture Wax Try-In
Like a traditional denture workflow, a wax try-in will be provided on the third patient visit. The try-in should be used to evaluate tooth color, tooth arrangement, centric relation, vertical dimension, mid-line, aesthetics, and phonetics. Make any adjustments as you would with your standard denture try-in technique.
If centric relation is incorrect, a new bite registration should be taken. If a reset is necessary, mark all necessary adjustments. It is extremely important that the patient approves of the color, shape, and arrangement of teeth. The approved wax try-in will be scanned and used in the CAD process when fabricating the provisional PMMA appliance as well as the final prosthesis.
Step Four – Provisional PMMA Implant Prosthesis
The PMMA try-in is a fully functional prosthesis. Seat CAD/CAM PMMA provisional implant prosthesis and hand tighten screws. Evaluate occlusion. If any adjustments are needed be sure to mark on the appliance.
Tighten screws to the suggested torque per manufacture instructions and place cotton in holes. Use light cure resin or acrylic to ensure implant screw housing units are sealed.
Allow patient to wear the PMMA appliance for at least two weeks. When patient is ready to get the final prosthesis, send back the articulated models. If any adjustments need to be made, return modified PMMA along with a description of adjustments. Return case to Utica Dental Lab.
Step Five – Delivery of Final All on X Zirconia Arch
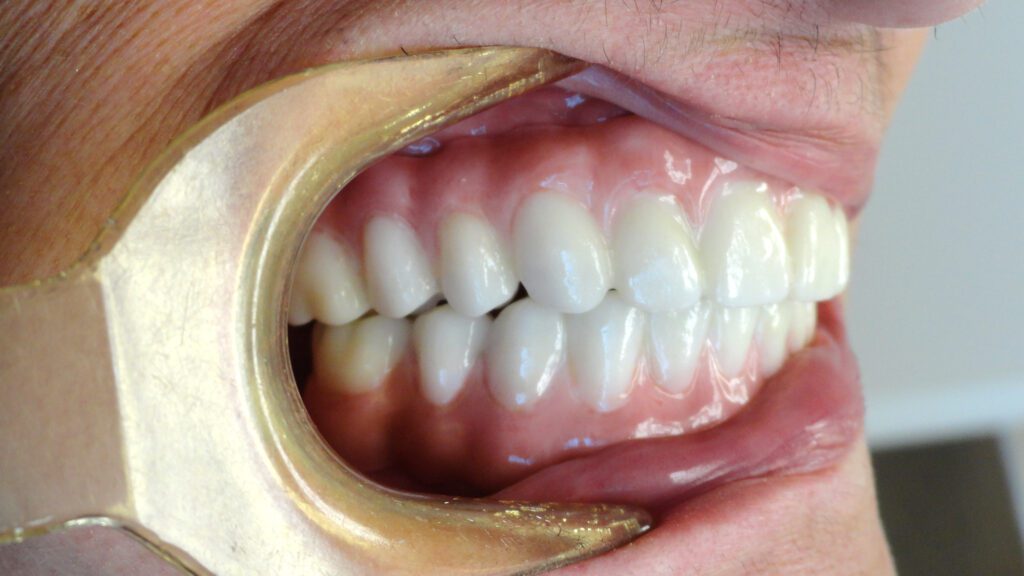
Assuming all other steps were successful and accurately followed, the final prosthesis should fit passively and fulfill all aesthetic purposes. Remove PMMA appliance to expose multiunit abutments. Then, seat the final prosthesis and tighten screws to specified measure. Evaluate occlusion and place cotton in holes. Apply light cure composite or acrylic to prevent buildup of bacteria.
